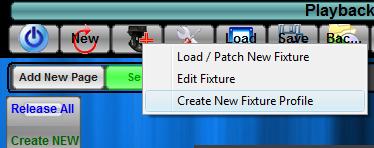
Sometimes it is necessary to create your own fixture profile - this section will take you step by step on completing this task. To start the Fixture Profile Creator, go to the toolbar and select the 'Create New Fixture Profile' option from the Fixture Plus Icon. To properly create a new profile we must have the fixtures user manual or dmx chart. This will be a document that lists all the channels the fixture uses along with a description of what each channel does.
The Fixture editor will display as show below.
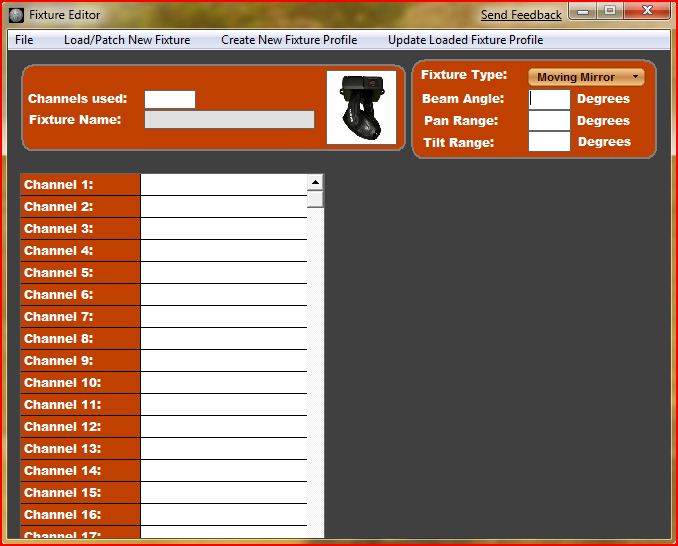
Using the DMX chart we will complete the initial setup of the profile.
Type in how many dmx channels are used into Channels Used Text Box.
Type in the fixture name - eg. "Axis 250"
From the Fixture Type drop down select what fixture type it is.
Beam angle, Pan range and tilt range are used for the 3d visualizer, and are not crucial. This information can be found in the fixtures user manual and entered at this time.
The Dmx Chart will also have a list of channels and channel numbers for each type. From the drop down list select the channel type and fill in the data from the dmx chart.
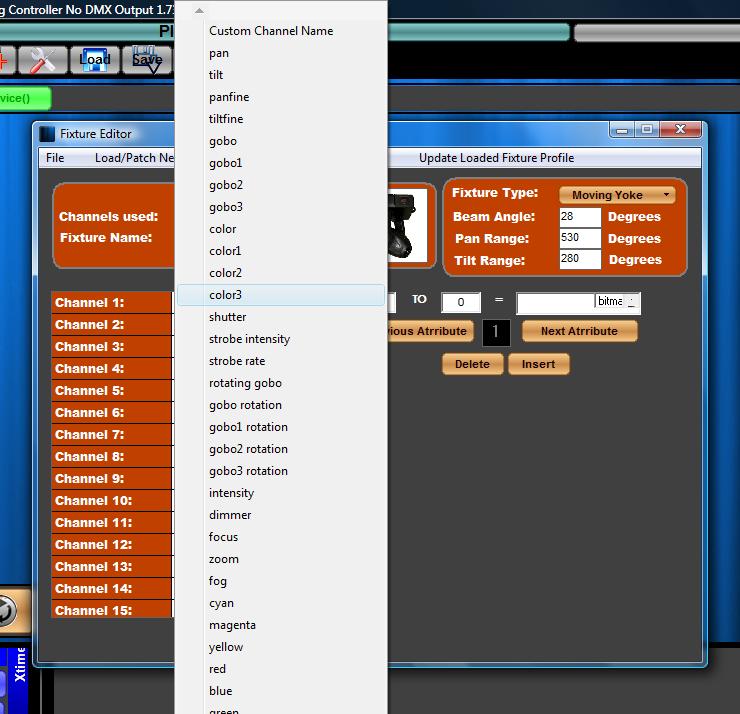
Once completed, as shown in the example below, all used channels should have a name.
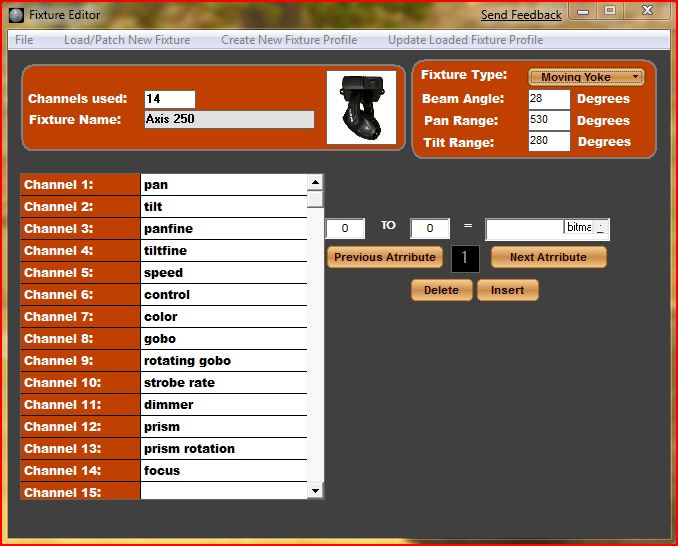
We must now enter the specific control features of each channel, called atrributes. In each channel can have a value from 0 to 255; each range of values indicates or changes the behaviour of the fixture connected. We will as an example select channel 7, color to illustrate this.
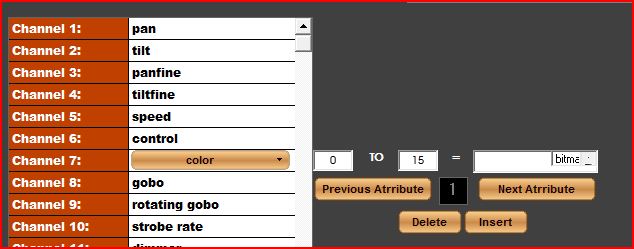
The attribute buttons will appear. This will allow us to enter the range values for each attribute. Lets look at an example.
 \
\
As shown above, the values from 13 to 25 make the fixture color turn red. This method will need to be repeated for all channels that have attributes. Each attribute can be represented as color, image, or text using the scroll box and clicking it.
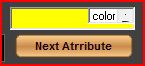
All images must be placed into the images directory under the main Enlighten Directory, C:/Enlighten/Images . Many of the common gobos are available, but we can also use our own custom images. Colors are selected from the windows color picker, and text is entered.
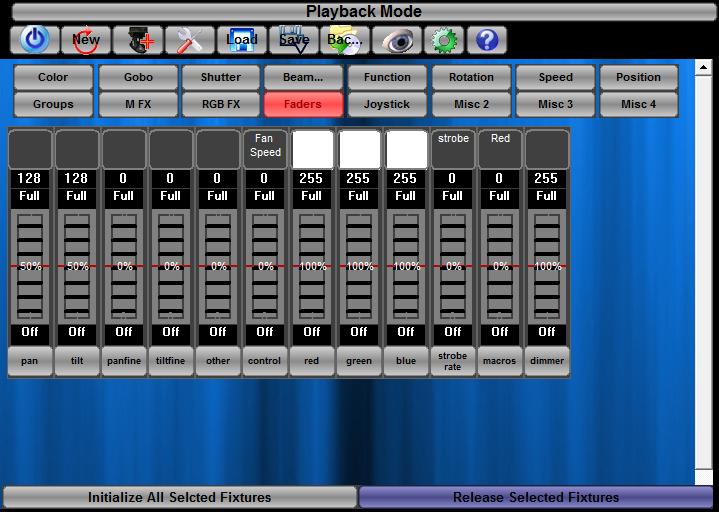
Notes: to initialize a fixture from the palettes window requires the channel attribute to be Name "init" and set to a value. This can be used to turn on lamps etc... from the initialize button on the palettes window.

Once all the data is entered make sure to save the fixture into the appropriate folder, which will correspond to the fixture brand name. If the directory is not present create a new directory name. Once the fixture profile is saved we can now patch it into our program.