Controlling LED matrix in Enlighten is a simple process of patching the matrix, then creating buttons that are created by the Disco Matrix engine. Here are the steps to get your led matrix display going.
First we must patch the matrix into Disco. Go to the patch, load fixture menu and select patch new fixtures.

Select the brand of LED you are using for each pixel in the matrix, normally the generic RGB Fixture profile can work.

This next screen will appear.

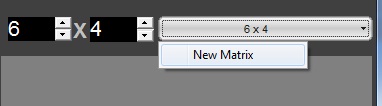
For the matrix size desired, set the height and width in pixels, each led fixture would be one fixture. Type in a name for the matrix and press load/patch fixtures.
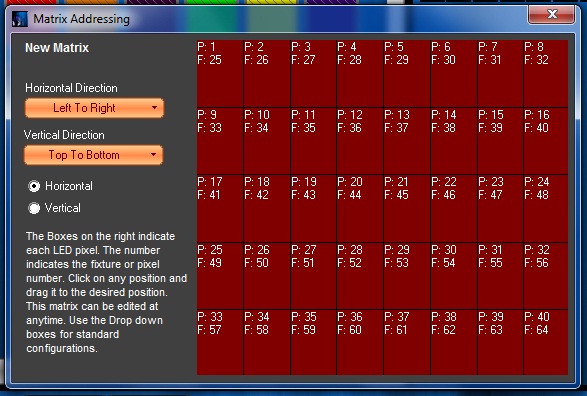
The matrix addressing window will appear. This is where we can alter the position for each pixel. Some common arrangements are possible using the drop down boxes, or each pixel can be dragged to its proper position. The P:1 stands for the pixel number, the F:58 stands for the fixture number in the current patch. Once the pixels are arranged this window can be closed. The Matrix Addressing can be changed at any later time, if needed.
We can now create some looks on the matrix and save them to buttons for later recall. Make sure to select the matrix from the list of available matrixes before starting.
There are Five types of effect, the windows are displayed below:
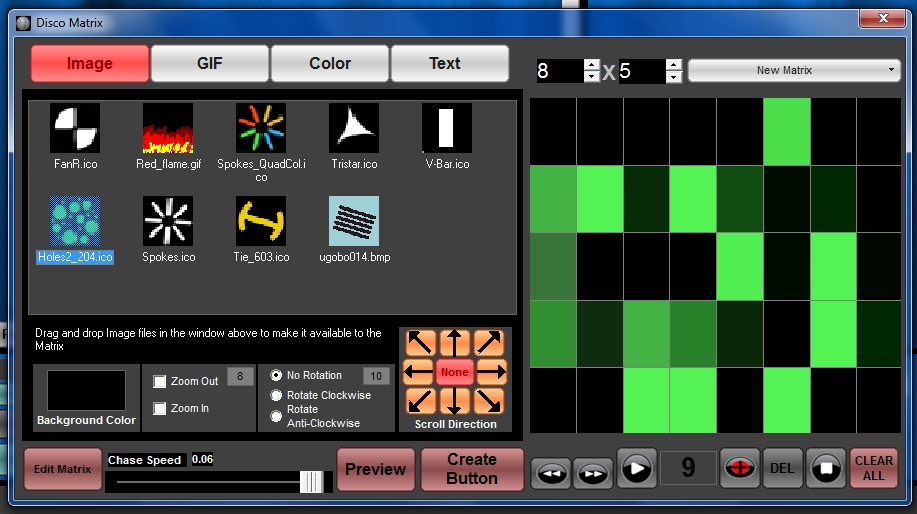
The Image section simply takes an image and applies rotation, zoom, or scrolling and creates the look. Any image on your computer can be used (as long as the size is not too large) by simply dragging the image from the folder on your computer into the image list box. This will copy the image into the Matrix Images folder and display it as available for creating a look using it. Speed of movement can be controlled by the Chase Speed fader. After you are happy with the look, press the Create button and a new button will be created on your playback screen.
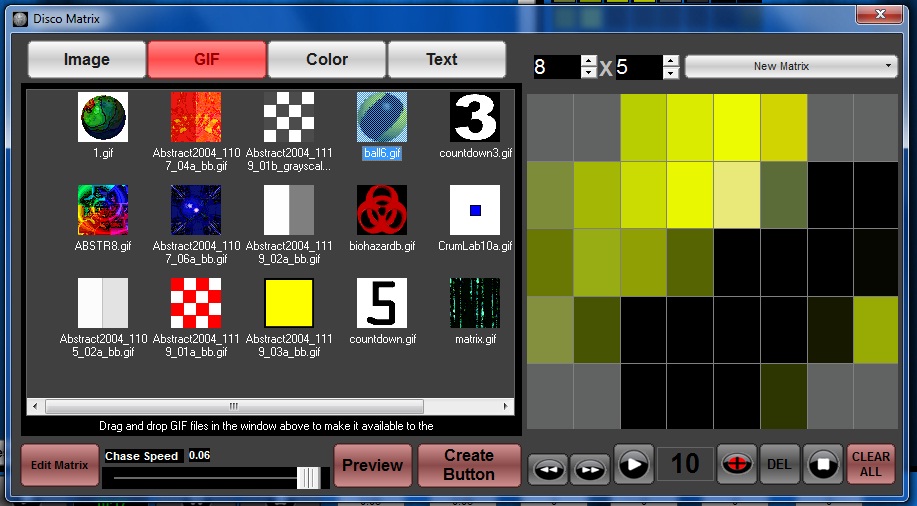
The GIF Section simply takes a Motion GIF image and applies it to the LED MAtrix. Any Motion Gif image on your computer can be used as long as the size is not too large by simply dragging the Motion Gif image from the folder on your computer into the Motion GiF image list box. This will copy the GIF image into the Matrix Gifs folder and display it as available for creating a look using it. Speed of the movement can be controlled by the Chase Speed fader. After you are happy with the look, press the Create button and a new button will be created on your playback screen.
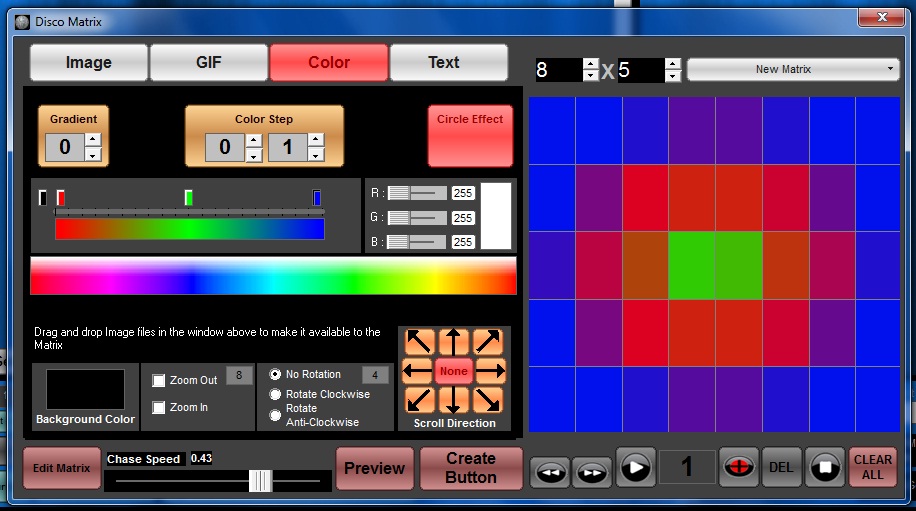
The Color sections has three modes of operation. Gradient mode will draw a gradient of the colors in the color selector bar, the Color Step will create random looks using the offset numbers, and the circle effect will create a circle effect using the colors in the color selector bar. Gradient and Circle can be altered by the zoom, rotate and scroll. After you are happy with the look press create button, to save the look as a button.
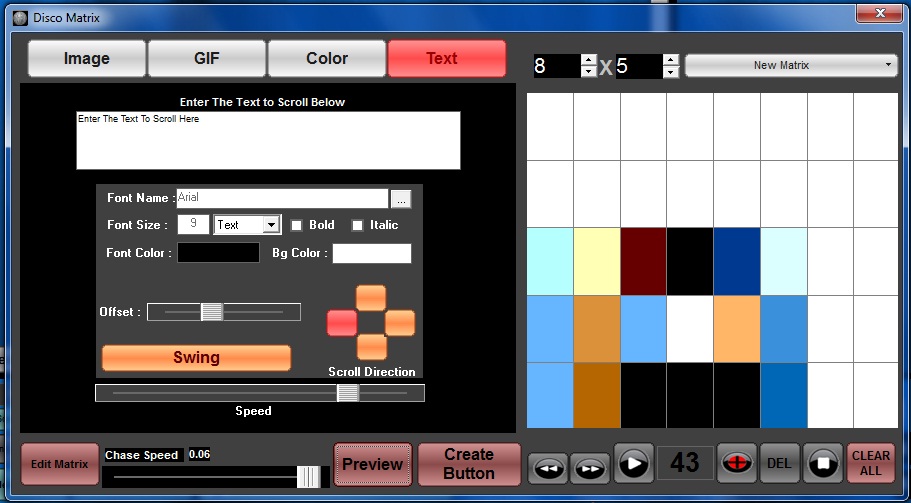
The Text Section simply allows for scrolling text onto the LED Matrix.
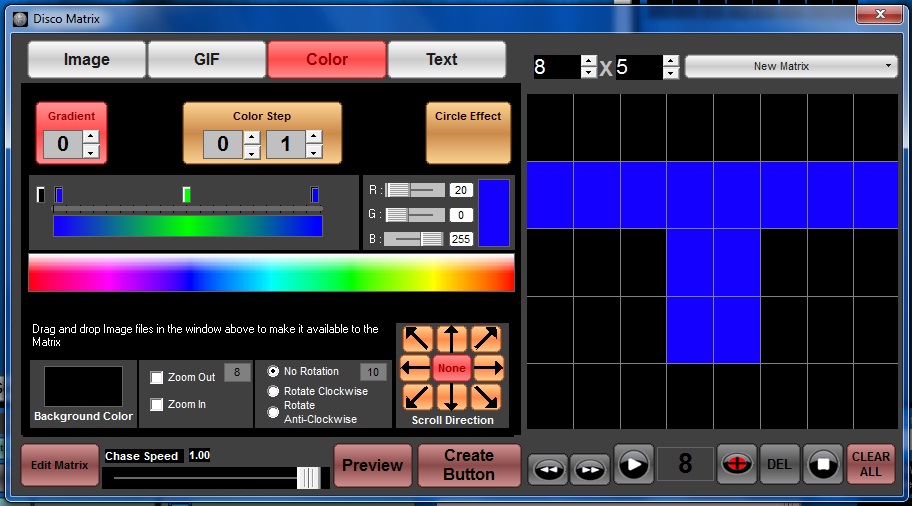
The last feature is the drawing function. We can go to the color tab and select a color from the color selector bar and draw any patern or design we would like frame by frame. We must use the record Plus button to add each new frame. Again the created look can be saved to a button on the playback screen.
This feature also allows us to create cool moving pixel effects. To do this follow these steps.
Press Clear all
Press the record plus button 10 times to create ten black frames.
press the play button
Pick a color and while the frames are playing move the mouse over the matrix display while the mouse right click is pressed.
Save the look as a button.