The Auto Pilot Button contains a list of buttons in the order they were pressed, and recalls them in that order at a set time interval.

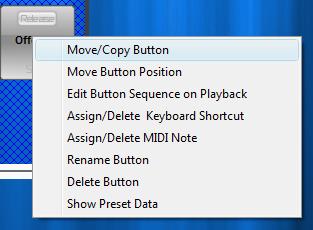
To create an Auto Pilot button, you must have some sequence buttons already programmed in Enlighten. Once Sequence Buttons have been created, we can create an Auto Pilot button. Right click on the Sequence Button Page and press 'Create New Button'. The dialog below will appear.
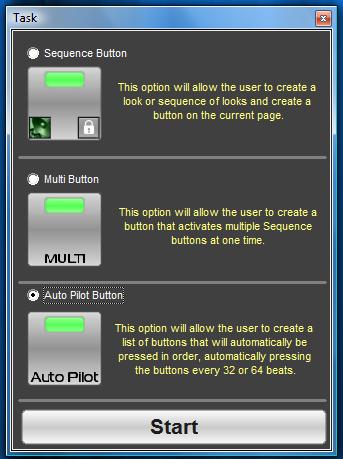
Select the Auto Pilot Button option and press Start. The dialog box below will appear.
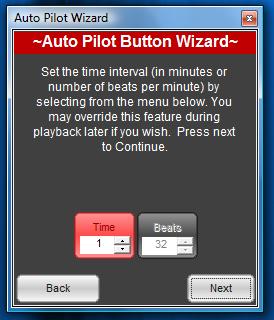
From this dialogue box, we can select the interval in time that every next button in the list will be pressed. The Beats option is disabled in Enlighten.
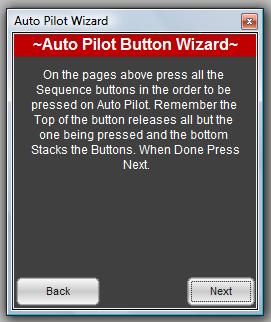
Now we have to select the sequences to be controlled by the Auto Pilot. The auto pilot button records buttons as they are pressed, so be careful to press the buttons you want in the right order, otherwise you'll have to start over. Remember, the top half of the button releases all in the group or page, and presses just the requested button, while pressing the button on the bottom half will stack or mix buttons on the page and play them at the same time. Once all the buttons you want to include have been pressed, we can proceed to the next step.
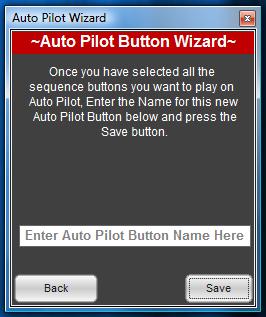
Now we name the Auto Pilot button and press save. The new button will appear in the new button section of the current page. Move the button wherever you want on the page. Like the sequence button, Auto Pilot Buttons can be placed into groups and be renamed, copied to other pages, or assigned keyboard or MIDI shortcuts.